Recommended Products
Latest Posts ⚡
Local AI Workspace with Odysseus on DGX Spark
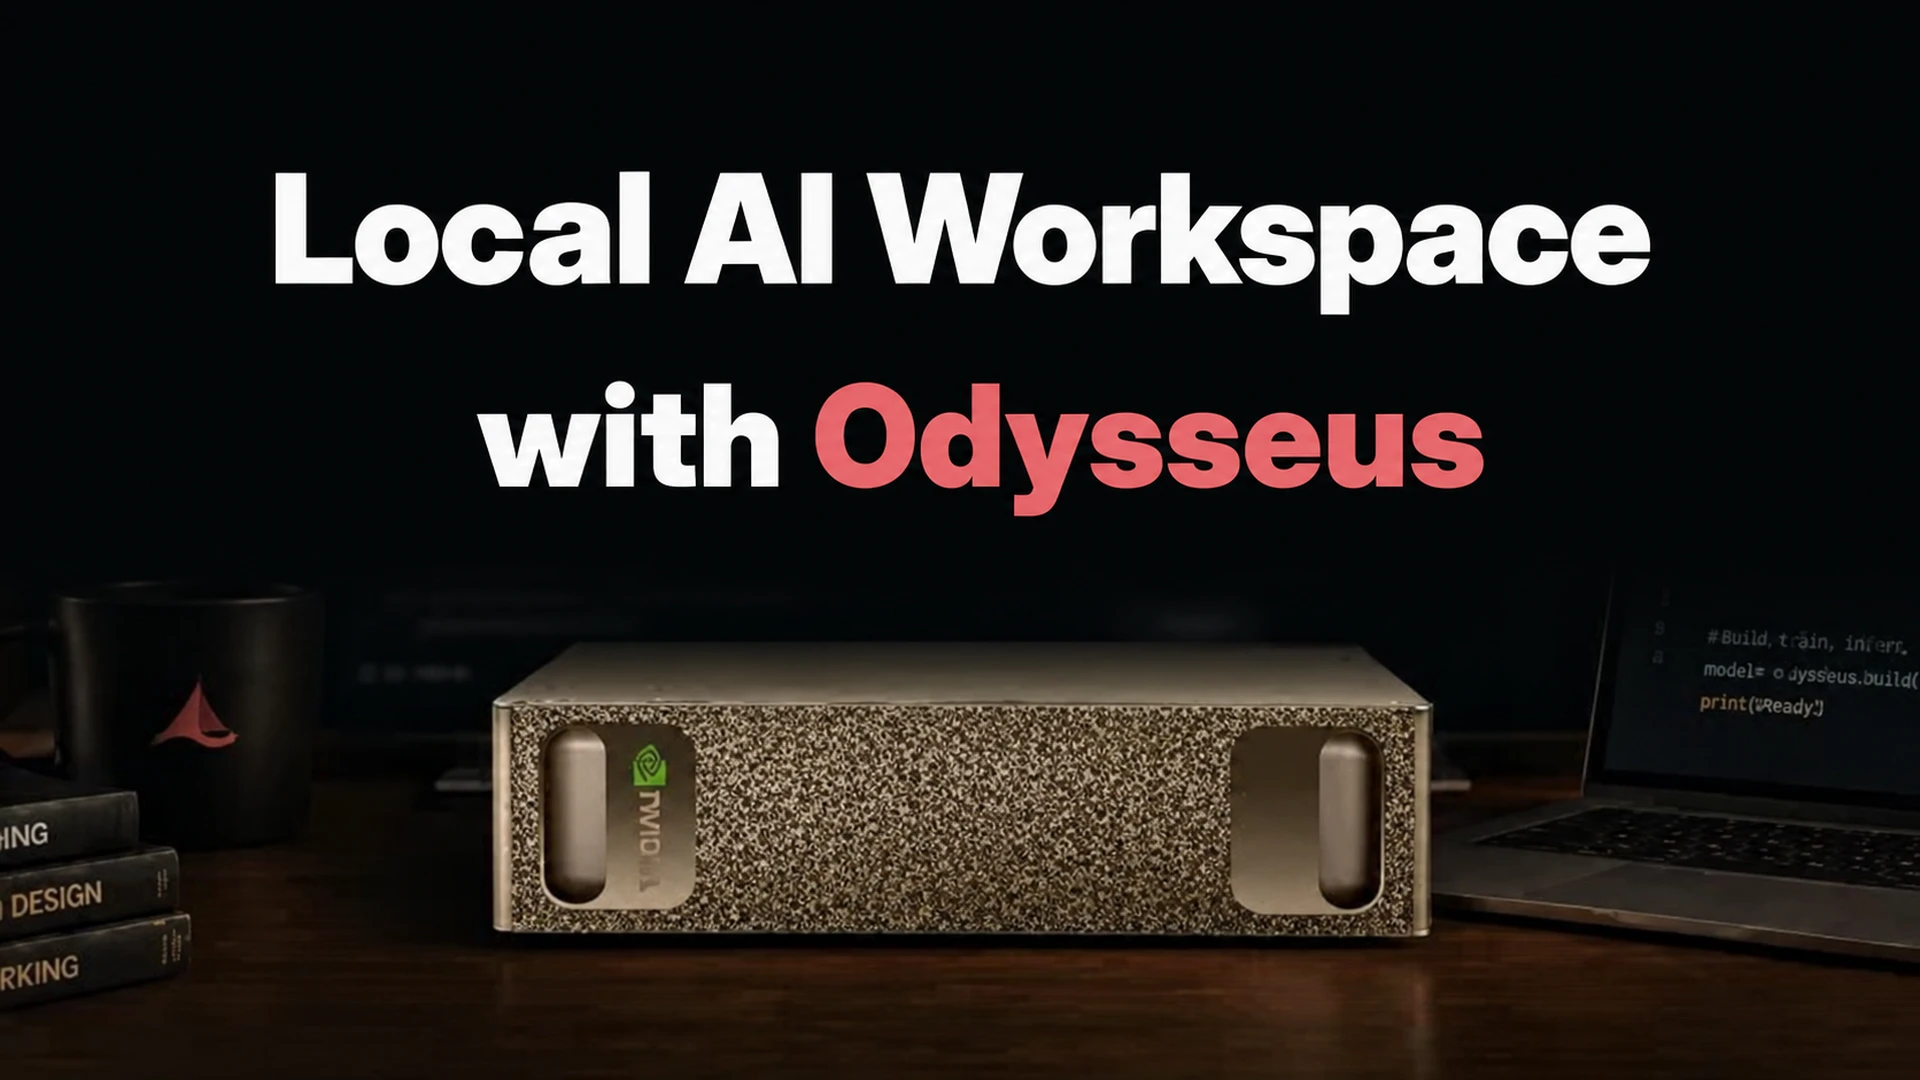
In the previous tutorial, we learned how to run the GPT-OSS 120B model on a DGX Spark using sparkrun. There, we used Open WebUI as the web interface. In this tutorial, we will explore a more advanced AI workspace: Odysseus.
Odysseus is an open-source AI workspace (84.3k stars on GitHub, AGPL-3.0 license). While it provides a chat interface like Open WebUI, it also offers the following features:
- Agents: The model autonomously performs operations such as writing files, running shell commands, and using tools
- Deep Research: Multi-step web research, source reading, and report generation
- Terminal access: The model runs commands through a sandboxed terminal
- Document management: Document upload, editing, and AI-powered analysis
- Email: IMAP/SMTP inbox, triage, and reply drafts
- Calendar and Notes: Reminders, to-dos, and scheduled tasks
- Code execution: Writing, saving, and testing programs
- Web search: Real-time web search with SearXNG integration
Odysseus can connect to any OpenAI-compatible inference server such as vLLM, Ollama, or llama.cpp, and manage multiple models simultaneously. In this tutorial, we will use GPT-OSS 120B. However, you can use any other model if you prefer.
This tutorial consists of three parts:
- Setup: Downloading, configuring, and starting Odysseus
- Using Odysseus: Model connection, chat, document analysis, deep research, and agent mode
- Shutdown: Stopping services and data persistence
You can refer to previous tutorials for running the GPT-OSS 120B model (or other models we used in the tutorials). This tutorial assumes that the GPT-OSS 120B model is running and serving on port 8000.
Setup
1. Downloading Odysseus
Odysseus uses a Docker Compose stack with 4 services: Odysseus web interface, ChromaDB (vector database), SearXNG (web search engine), and ntfy (push notifications). First, clone the repository:
Copy the .env.example file in the repo as .env:
Odysseus uses the PUID and PGID variables in the .env file to set ownership of bind-mounted files. Check the UID and GID values of the nvidia user on the Spark:
On the DGX Spark, the UID/GID of the nvidia user is 1001 (usually 1000). We will need to set this value correctly in the .env file.
2. .env Configuration
Append the following configuration to the end of the default settings in the .env file:
Verify the lines you added:
The following table explains why each variable is needed:
APP_BIND- Value:
0.0.0.0 - Description: LAN access — allows you to access the Spark from another computer’s browser. The default
127.0.0.1only allows localhost access.
- Value:
APP_PORT- Value:
7000 - Description: The port of the Odysseus web interface.
- Value:
LLM_HOST- Value:
host.docker.internal - Description: Provides access to vLLM from within the Docker Compose network.
- Value:
PUID- Value:
1001 - Description: The UID of the
nvidiauser on the Spark. Ensures files in./data/and./logs/belong to the correct user.
- Value:
PGID- Value:
1001 - Description: The GID of the
nvidiauser on the Spark. Required for the same reason asPUID.
- Value:
Important: Open WebUI runs with the
--network=hostflag, so it can access vLLM atlocalhost:8000from within the container. Odysseus, however, uses the Docker Compose network, solocalhostinside the container refers to the container itself, not the Spark. This is why we setLLM_HOSTtohost.docker.internal.
3. Build and Start
Build and start Odysseus:
The first build takes approximately 6 minutes. During the build, Docker downloads the required images and builds the Odysseus web interface image locally. When the build is complete, you will see the following output:
The Docker image was built successfully and 4 containers were started. SearXNG health check passed (Healthy), then the Odysseus web interface container was started. Docker Compose created its own network (odysseus_default) and 3 named volumes.
4. Status Check
Odysseus enables authentication by default and automatically creates the initial admin account. The admin password is printed in the container logs. Check the logs:
The admin account has been created: username admin, password akZ-yra12HxXCV5HIqvfVtFa. You can change this password after your first login. If you want to set your own password, you can add the ODYSSEUS_ADMIN_PASSWORD variable to the .env file.
Check the status of the containers:
All 4 containers are running. The Odysseus web interface is on 0.0.0.0:7000 (LAN accessible), while the other services are on localhost only.
Verify that the server is responding:
The HTTP 302 response indicates that the server is redirecting requests to the login page. Odysseus is running.
Finally, verify that the Odysseus container can access vLLM:
The HTTP 200 response confirms that the Odysseus container successfully accesses vLLM via host.docker.internal:8000.
Verify that all components are ready by checking Odysseus startup logs:
The Application startup complete. and Uvicorn running on http://0.0.0.0:7000 lines indicate that Odysseus is ready. The logs also show 5 MCP (Model Context Protocol) servers automatically registered at startup: Memory (1 tool), Image Generation (1 tool), RAG (1 tool), Email (16 tools), and Browser (30 tools — Playwright/chromium for web browser automation). These MCP servers enable the model to perform operations such as file reading, image generation, email management, and web browser control in agent mode.
Odysseus setup is complete. You are ready to access it from your browser.
Using Odysseus
1. Login
Open your computer’s browser and navigate to the Spark’s IP address on port 7000:
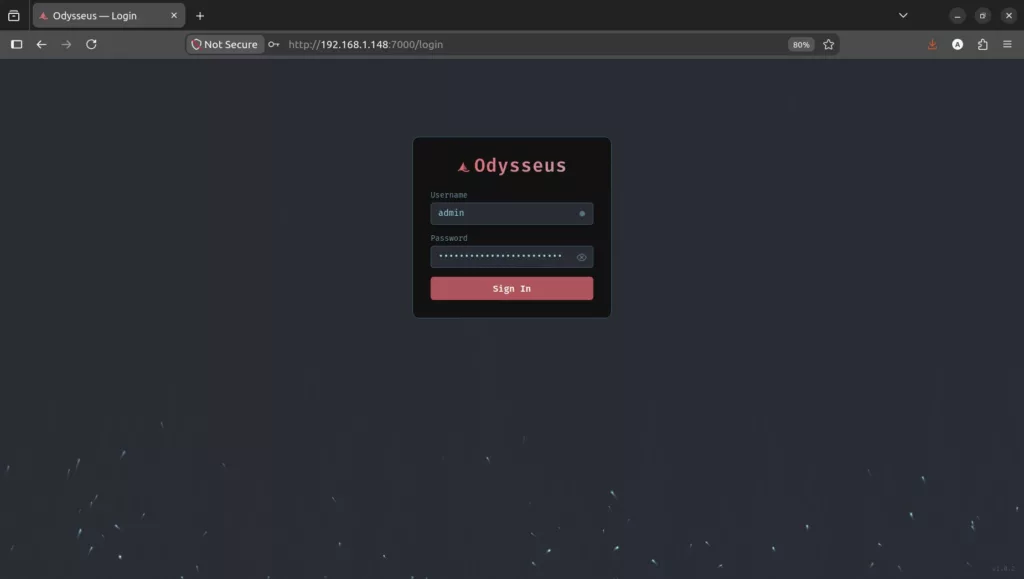
You will see the login screen. Log in using the admin name (admin) and password you saved in the previous step.
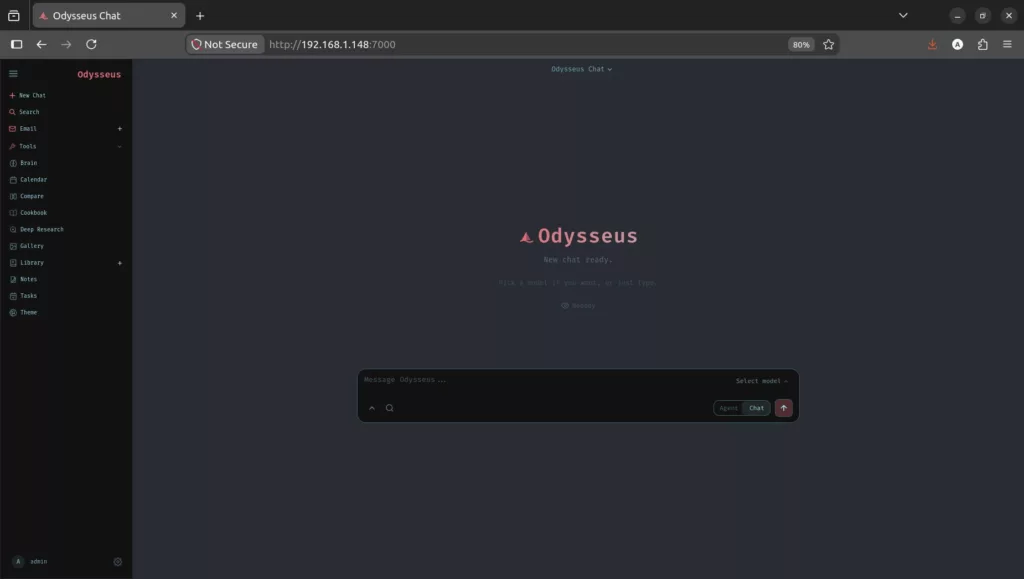
After logging in, you will see Odysseus’s integrated workspace. From the left menu, you can access many applications: Email, Tools, Brain, Calendar, Compare, Cookbook, Deep Research, Gallery, Library, Notes, Tasks, and Theme. The chat area is in the middle and becomes ready to use once a model is selected. The selector in the bottom right corner lets you switch between Agent mode (multi-step operations with tools) and Chat mode (traditional language model response).
2. Model Selection
Odysseus automatically discovers models from OpenAI-compatible inference servers like vLLM. Click the settings icon in the bottom left corner and go to the Add Models section. Enter the address of your vLLM local model server:
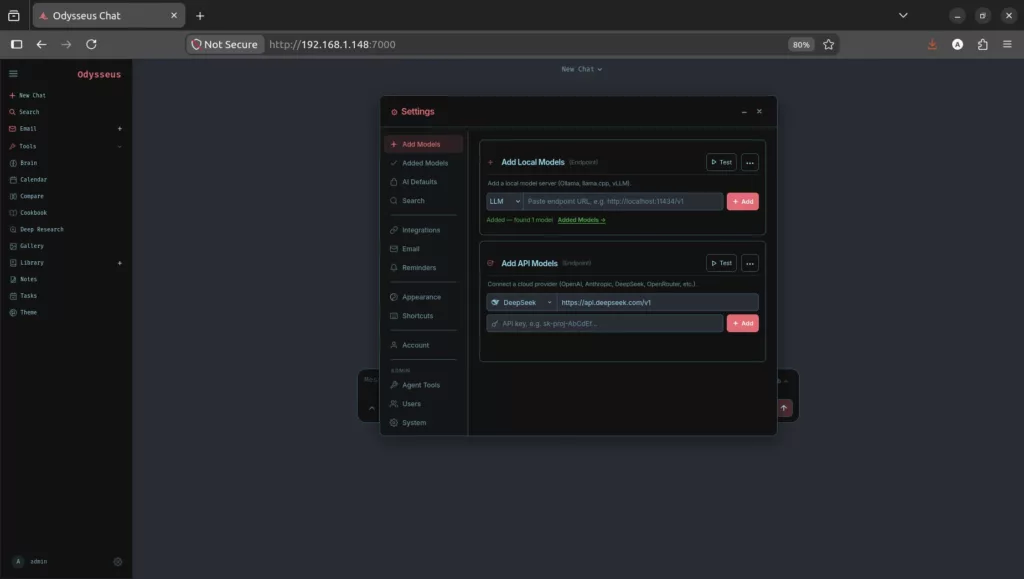
You will see a green “Added — found 1 model” message. This indicates that Odysseus has connected to the vLLM server and discovered the gpt-oss-120b model.
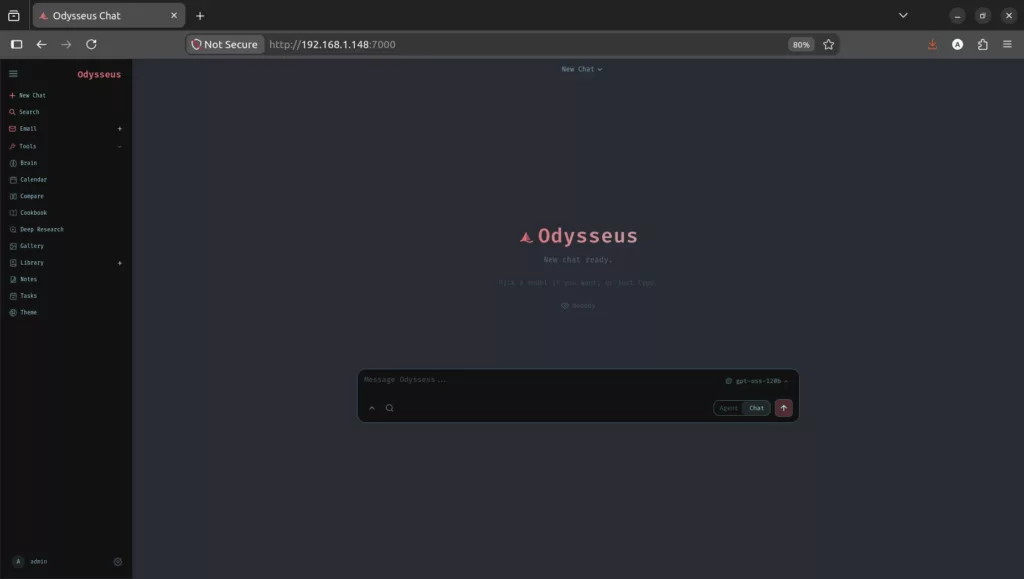
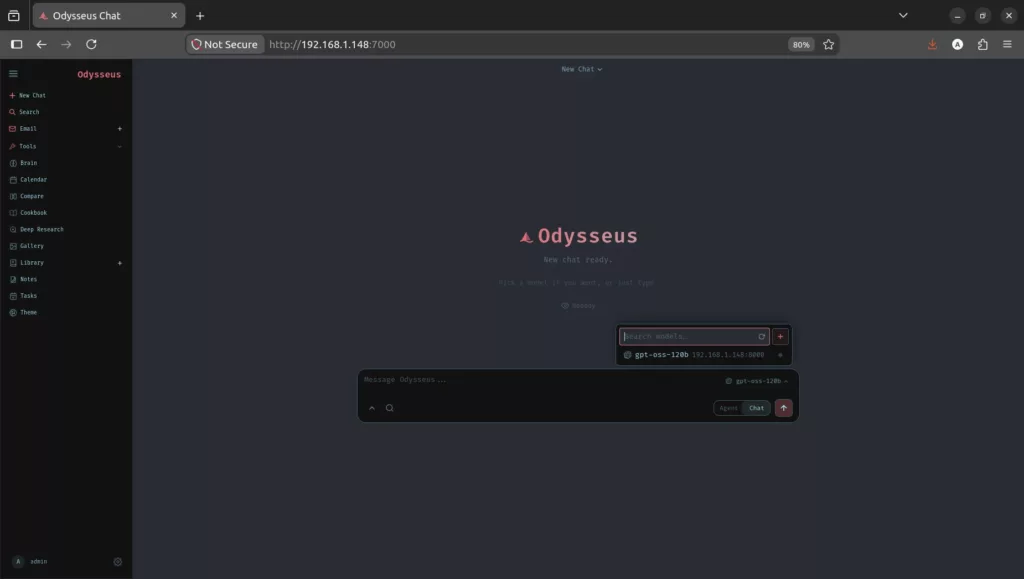
The model appears as gpt-oss-120b in the chat interface and is ready to be selected.
3. Chat and Reasoning
Let’s start by chatting with GPT-OSS 120B:
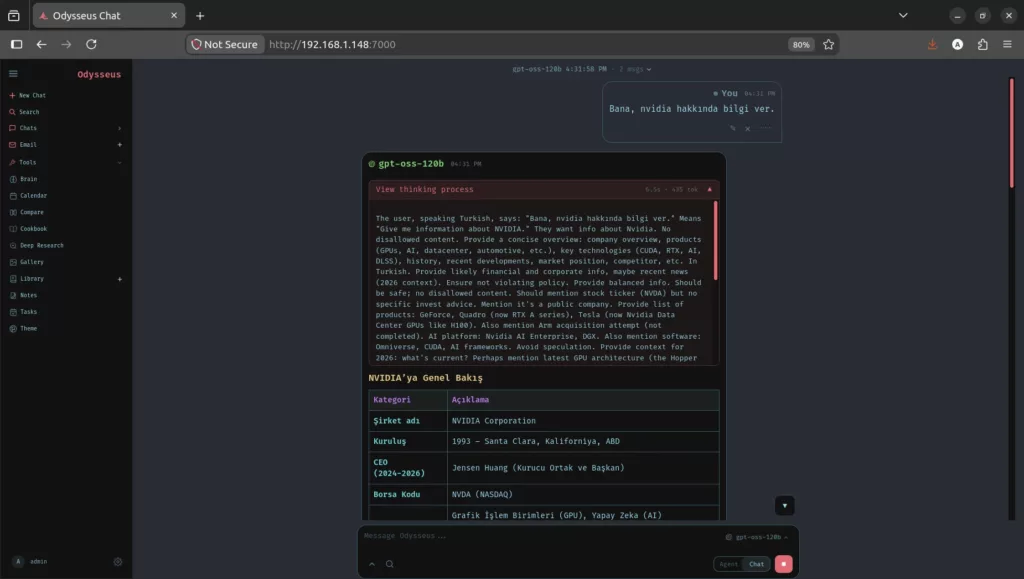
The model produces a structured response — with headings, tables, and categorized information. Above the response, you can expand the “View thinking process” panel to see the model’s reasoning process. The interface also shows approximately 6.5 seconds of generation time and 435 token count. This is an ordinary model inference — the response is based on the model’s internal knowledge.
Now open the attachment menu at the bottom of the chat window:
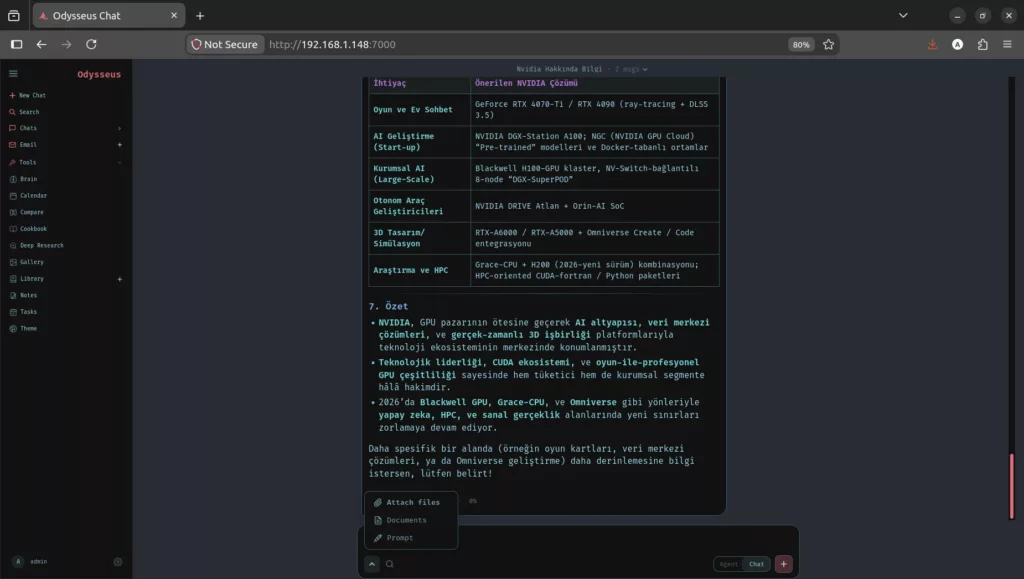
This menu offers three options: Attach files (upload files from your computer — PDF summarization, source code analysis, table analysis, image interpretation), Documents (select an existing document from the Odysseus Library), and Prompt (add a saved prompt template).
4. Document Upload and Analysis
Let’s test the model’s document understanding capability by uploading the DGX Spark datasheet PDF. Use the Attach files option from the attachment menu to upload the PDF and ask it to summarize:
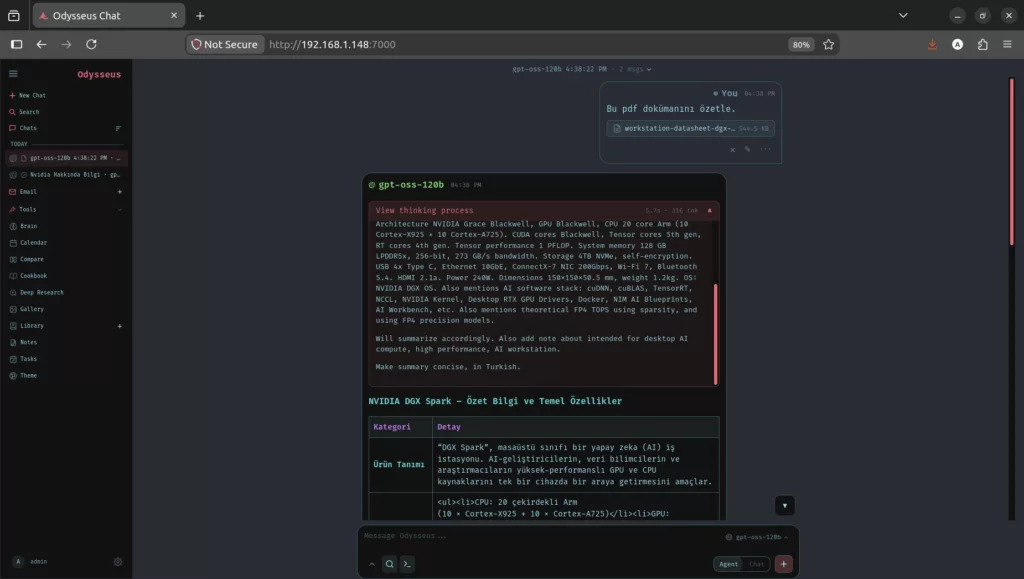
GPT-OSS 120B extracts the PDF content, adds it to the model context, and produces a summary.
5. Deep Research
Deep Research is one of Odysseus’s most distinctive features. This feature enables the model to conduct multi-step web research: it generates search queries, reads web sources, iteratively refines findings, and produces a report.
Open the Deep Research app from the left menu and enter a research topic.
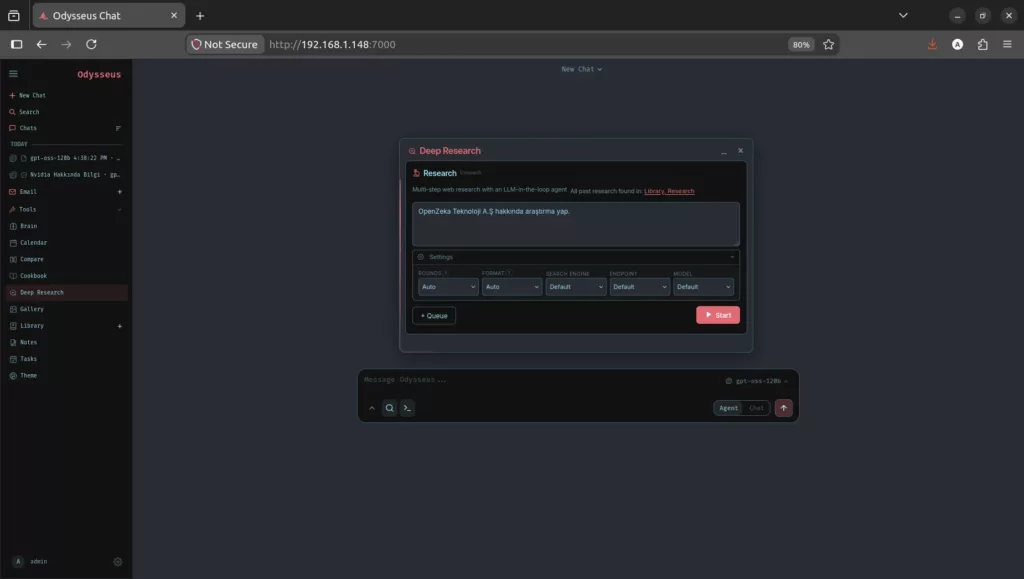
The research configuration offers the following options: Rounds (number of iterative research cycles), Format (output structure), Search Engine (search engine), Endpoint (inference endpoint), and Model (the model to use for search planning, source analysis, and report synthesis). Press the Start button to begin the research.
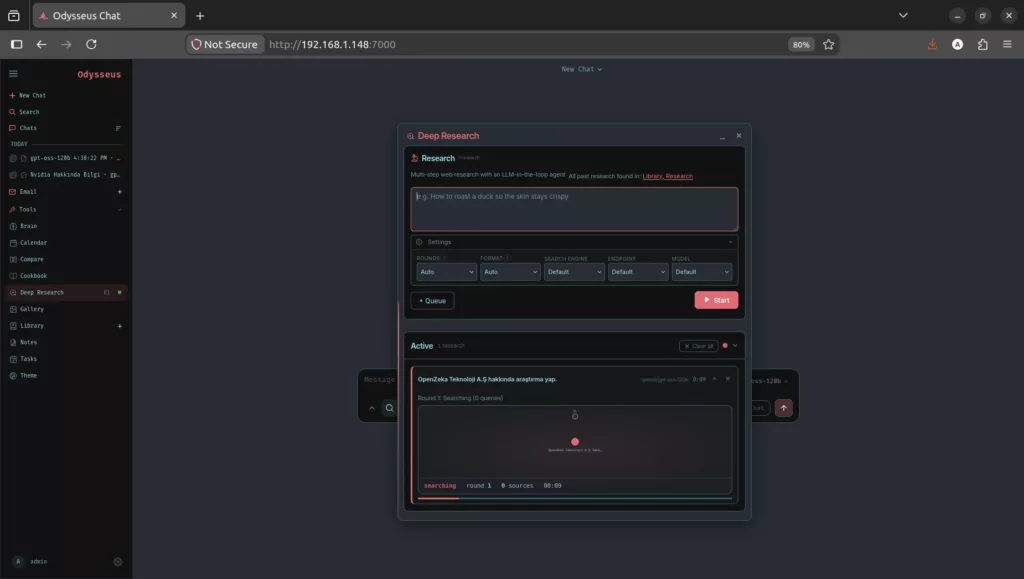
When the research starts, the interface shows the research graph live. The root node represents the original research question, while the branched nodes represent generated sub-questions and discovered sources. In the first round, the system generates search queries and searches the web.
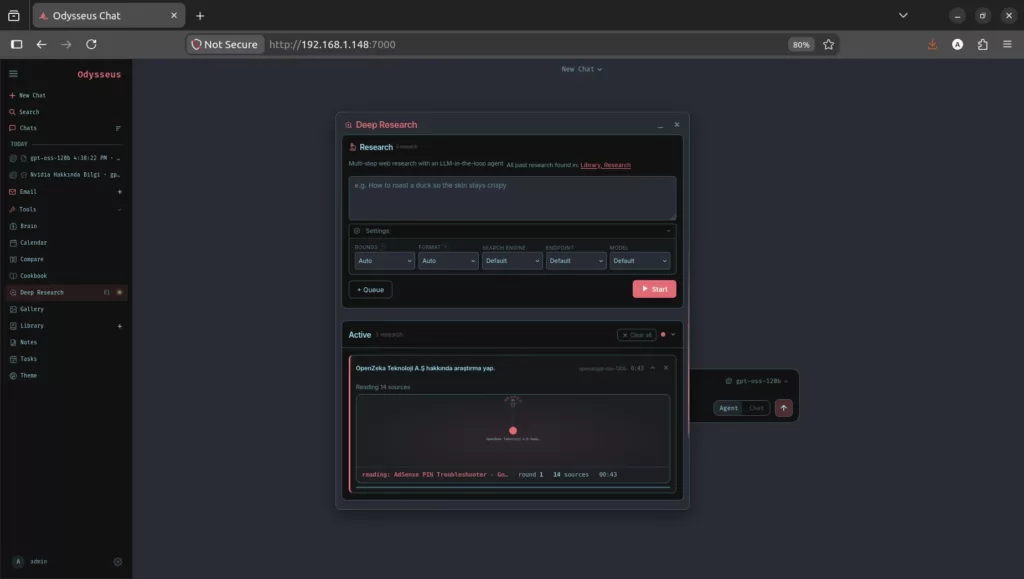
As search results are collected, the system fetches web pages, extracts text, and provides the content to the research model. The system reads sources, filters relevant content, and prepares it for additional searches or final synthesis.
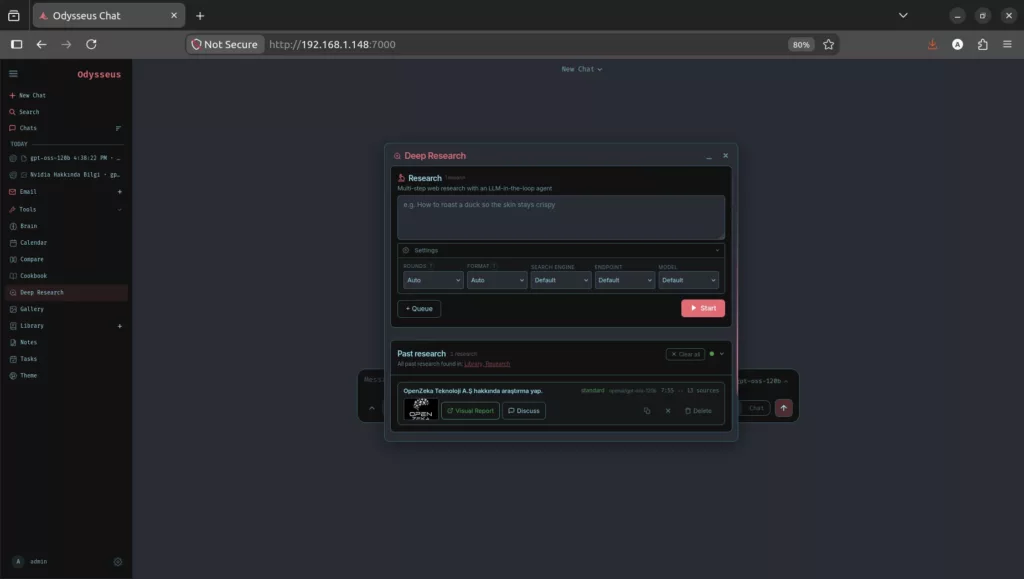
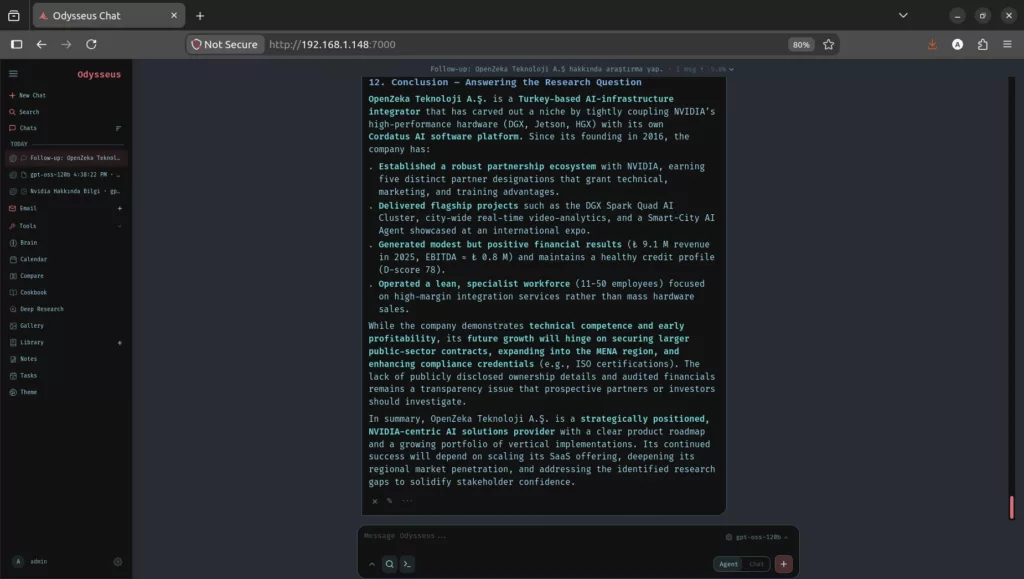
The result is saved in the “Past research” section: There are two main result buttons: Visual Report (formatted research report) and Discuss (open the report as a new chat context). Research results are permanently stored under Library > Research.
6. Agent Mode and Tools
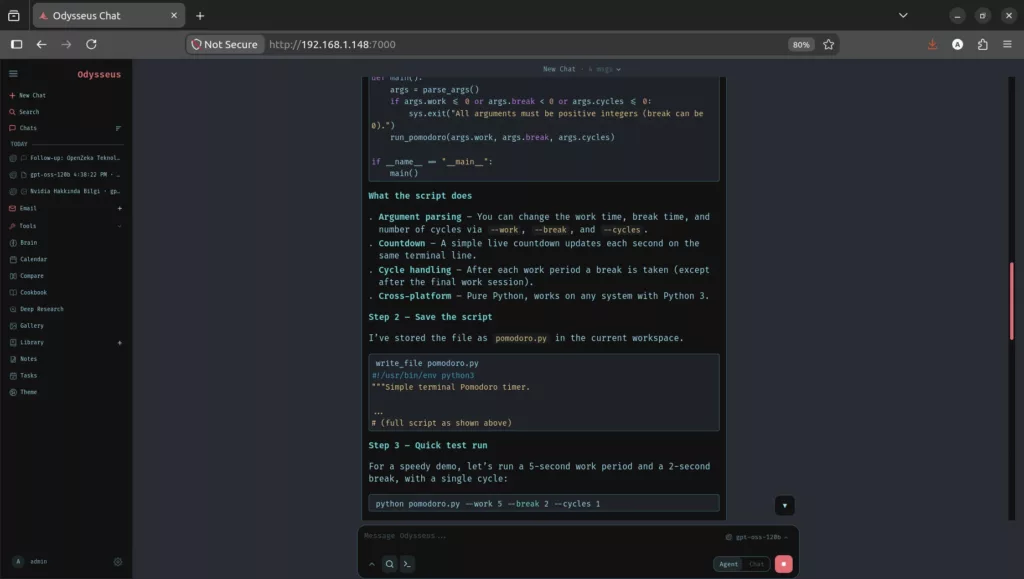
Switch the selector in the bottom right corner to Agent mode. In Agent mode, the model not only generates text but also autonomously performs operations such as writing files, running shell commands, and using tools.
After switching to Agent mode, enable the Shell Access card. Ask the model to write a program, save it to the Spark, then run and test it.
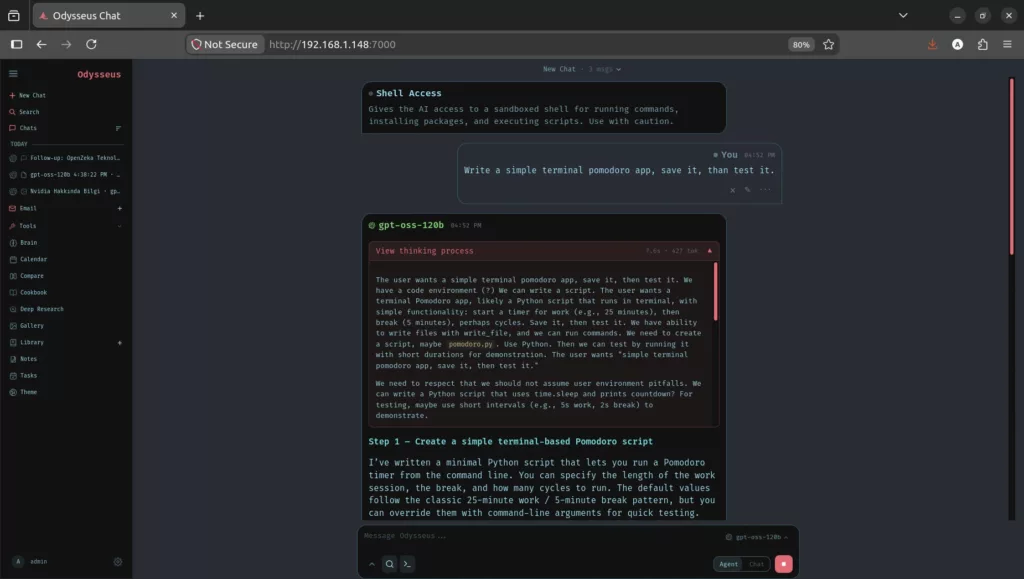
The agent first designs the program, then saves the file using the write_file tool, and tests it via shell while monitoring the workflow.
7. Other Features
Odysseus includes many integrated applications beyond those shown above. All of these are accessible from the same web interface:
- Cookbook: Hardware-aware model recommendations, downloading, and local serving. Cookbook suggests models suitable for the Spark’s GPU and can download them with one click.
- Compare: Blind side-by-side model testing and synthesis. Compare multiple models with the same prompt.
- Email: IMAP/SMTP inbox, triage, labels, summaries, reminders, and reply drafts.
- Notes, Tasks, and Calendar: Reminders, to-dos, scheduled agent tasks, CalDAV synchronization.
- Gallery and Image Editor: Image upload, editing, and creation.
- MCP Servers: Odysseus registers 5 MCP servers at startup: Memory, Image Generation, RAG, Email (16 tools), and Browser (30 tools — Playwright/chromium for web browser automation). You can add additional servers if you wish.
- Theme and Customization: Multiple themes, session management.
Shutdown
When you are done, stop Odysseus:
All 4 containers were stopped. The Docker network (odysseus_default) was also cleaned up — the ODYSSEUS_TTS_CACHE_MAX_BYTES warning is harmless.
Although the containers are stopped, all necessary components persist on disk:
- Odysseus Docker image (
odysseus-odysseus:latest, 2.76 GB) — no rebuild required. - Odysseus repo (
~/odysseus/) — ready with the configured.envfile. - Odysseus data (
~/odysseus/data/) — admin account (app.db,auth.json), ChromaDB vectors, fastembed cache, generated images, and research data persist. - Docker volumes (
odysseus_chromadb-data,odysseus_ntfy-cache,odysseus_searxng-data) — preserved for the next run.
To restart Odysseus: