Serving a Local LLM with vLLM on DGX Spark

In this tutorial, you will run a large language model locally on a DGX Spark and chat with it from another computer’s browser.
The Spark can be used as a standalone computer by connecting a monitor and keyboard, or as a remote server accessed from another computer. In this tutorial, we will connect to the Spark remotely and install the necessary software to run the model.
We will use Qwen3.6-35B-A3B-FP8 (a 35-billion parameter Mixture-of-Experts model, 3 billion parameters active, FP8 quantization) as the language model, vLLM as the inference engine, and Open WebUI as the web interface. vLLM will load the model’s trained weights into GPU memory and expose an API that accepts external requests. Open WebUI will connect to this API and display a chat interface in the browser. Both will run on the Spark, inside Docker containers.
Prerequisites: Finding the Spark’s IP Address
If you are connecting to the Spark remotely for the first time, you need to find its IP address. Connect a monitor and keyboard to the Spark, log in, and run the following command in the terminal:
The command outputs the IP address of the Spark’s default network interface:
Note this address; you will use it in place of throughout this tutorial. Alternatively, you can find the IP address by checking the NVIDIA Sync application.
1. Connecting to the Spark
Make sure your computer is connected to the same network as the Spark. Then, open a terminal on your computer and connect to the Spark via SSH:
On the first connection, you will see a fingerprint warning. Type yes and press Enter. Then, when prompted for a password, enter the Spark’s password:
Once connected, the Spark will start accepting commands sent from this terminal.
2. Clearing the Cache
Before starting vLLM, flush the filesystem cache:
The main reason for doing this is the DGX Spark’s unified memory architecture: the operating system caches model files read from disk in RAM. vLLM loads the model weights from here into GPU memory. After loading is complete, the cached data remains in RAM even though it will not be used again. On systems with separate memory, this is not significant — since inference runs in GPU memory, RAM utilization does not affect performance. On the Spark, however, the CPU and GPU share the same RAM, so the cache reduces the memory available to the GPU. This command frees the cache, providing maximum memory for vLLM.
When prompted for a password, enter the Spark’s password. The command produces no output and completes silently:
3. Setting Up the vLLM Server
Pull the vLLM Docker image:
During the download, layers will be pulled sequentially and you will see progress percentages on the screen. If the image is already on disk, Docker skips the download. Once the download is complete, you will see the following output:
This image contains everything needed to run vLLM — PyTorch, CUDA kernels, Python libraries…
Now, let’s start the vLLM server:
This command starts the downloaded image as a container. If the model is not already installed on the Spark, it will be automatically downloaded from Hugging Face. As the download progresses, you will see progress bars, and once complete, the files will be placed in the ~/.cache/huggingface/hub/ directory. If the model has been previously downloaded on the Spark (if you have followed this tutorial before), vLLM skips the download step and loads the downloaded weights directly into GPU memory.
When the command finishes, you will see a container ID; this indicates that the server has started in the background and the model is now being served on port 8000:
If a container with the same name (from your previous attempts) already exists, the command will return the following error:
In this case, check the container list — vllm-qwen36-35b-fp8 should be listed:
If the status column shows “Up”, the container is already running and ready to use — you can proceed to the next step:
If the status column shows “Exited”, the container has stopped:
You can restart the stopped container and proceed to the next step:
4. Monitoring the vLLM Startup Process
After the model download is complete, it may take a few minutes for vLLM to become ready for serving. During this process, vLLM loads the model weights into GPU memory, compiles GPU kernels, and allocates memory for inference. To monitor this process:
You will see the following in the logs:
Once you see the Application startup complete. line, the model server is ready. Press Ctrl+C to stop watching the logs. The server will continue running in the background.
5. Testing the vLLM Server
First, let’s verify that the server is running:
If you don’t receive any errors, the server is healthy:
Now test the model:
The simplified response is shown below. In the content field (the model’s response), you will see the number 204. This confirms that the model performed the multiplication correctly. Additionally, the response includes a reasoning field. This field contains the model’s thought process. As you can see, the model performed the calculation using two separate methods and verified the solution before arriving at the answer:
vLLM is now running and we can ask questions to Qwen3.6 and receive responses. However, sending each question as a terminal command like the one above is not practical. We need a web interface to chat from the browser.
6. Setting Up Open WebUI
Open WebUI is an interface that connects to vLLM and can be used from your browser. You can chat with your language model and upload images to ask questions about them. Responses start appearing on the screen as they are being generated — you don’t have to wait for the entire response to finish before you start reading. For each chat, you can adjust settings such as temperature, top_p, and max_tokens. On first setup, it downloads a small embedding model, which enables you to upload documents and ask questions about them (RAG — Retrieval-Augmented Generation). Your chat history, settings, and account information are stored on the Spark’s disk; even if the device or container is shut down, your data is not lost, and you can continue from where you left off when you restart.
First, pull the Open WebUI Docker image on the Spark:
If the image is already on disk, Docker skips the download. Once the download is complete, you will see the following output:
Once the download is complete, start the container:
The command returns a container ID, indicating that the container has started:
As mentioned in the vLLM setup section, if a container with the same name (from your previous attempts) already exists, the command will return the following error:
In this case, check the container list — open-webui should be listed:
If the status column shows “Up”, the container is already running and ready to use — you can proceed to the next step:
If the status column shows “Exited”, the container has stopped:
You can restart the stopped container and proceed to the next step:
Your Open WebUI server will then be ready for use.
7. Monitoring the Open WebUI Startup Process
To watch the logs:
You will see output similar to the following in the logs:
After you see the Scheduler worker started line in the logs, wait a few seconds. Press Ctrl+C to exit log monitoring.
8. Testing Open WebUI
To verify that the server is ready and healthy, run the following command:
If you receive an HTTP 200 response, Open WebUI is ready:
9. Accessing from the Browser
On your computer’s browser, which is on the same network as the Spark, navigate to:
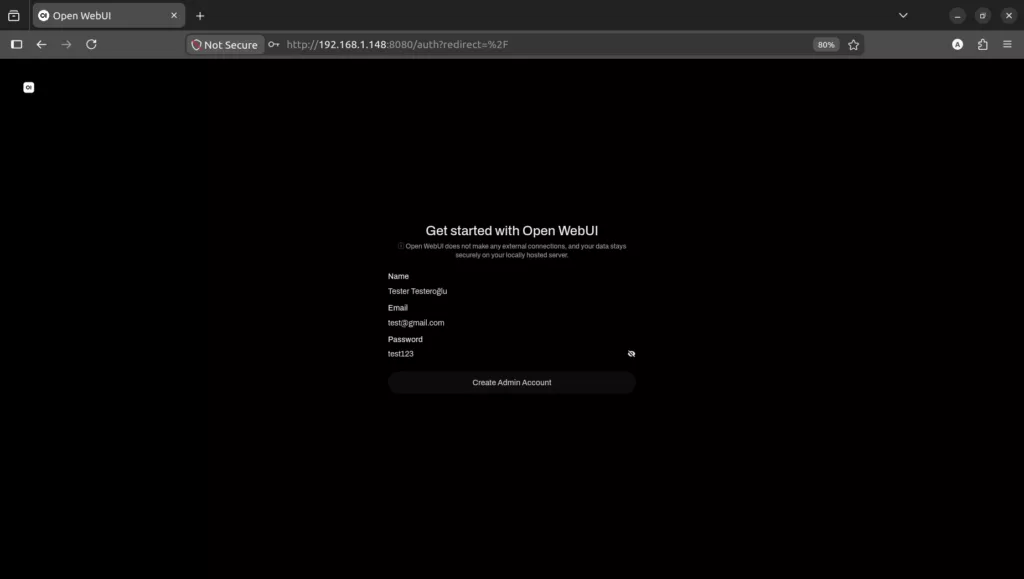
On first launch, a login screen will appear. Click the “Sign up” link and enter your name, email, and password. The first account created automatically becomes the administrator account. The purpose of creating an account is to store chat history and settings. This information is stored on the Spark.
The model is automatically detected by Open WebUI and listed in the model selection menu. You will see the Qwen/Qwen3.6-35B-A3B-FP8 model in the menu. Select the model. If you are running multiple models at the same time, you can instantly switch between models from here. Additionally, the chat history tab on the left allows you to create multiple chat sessions and switch between them.
Type a question in the message box and press Enter. As the model responds, a collapsible reasoning section will appear at the top, and the response will appear below.
Here are a few experiments we conducted to demonstrate what the model and web interface can do:
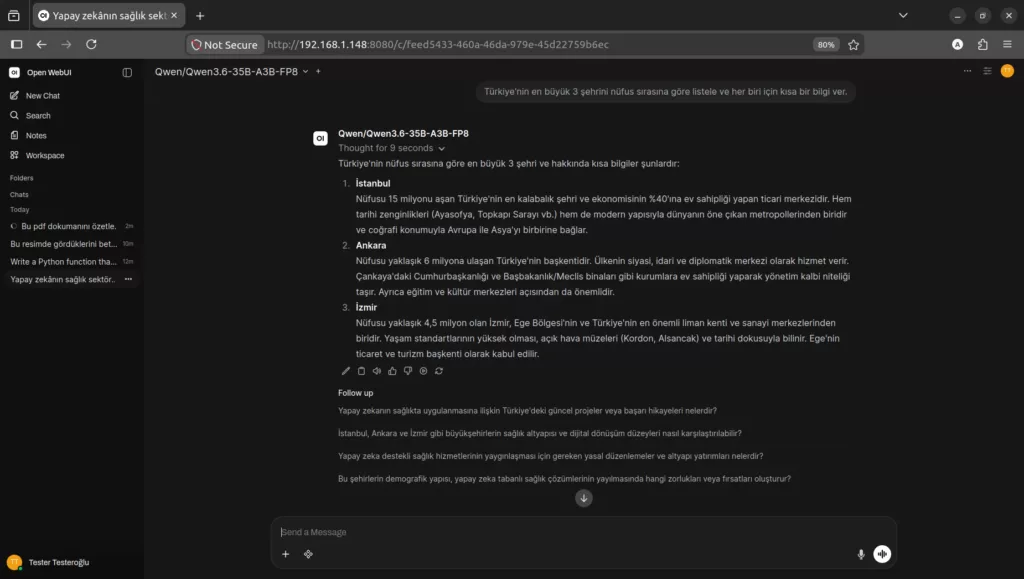
First, to test the model’s Turkish comprehension skills, we asked the model to list Turkey’s three largest cities and provide brief information about each.
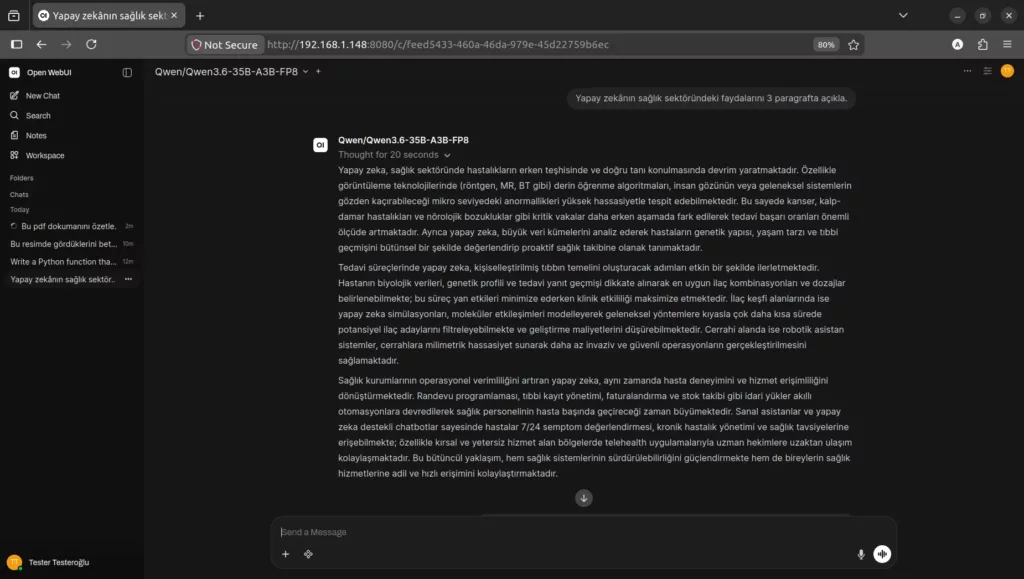
Next, we asked the model to explain the benefits of artificial intelligence in the healthcare sector in three paragraphs.
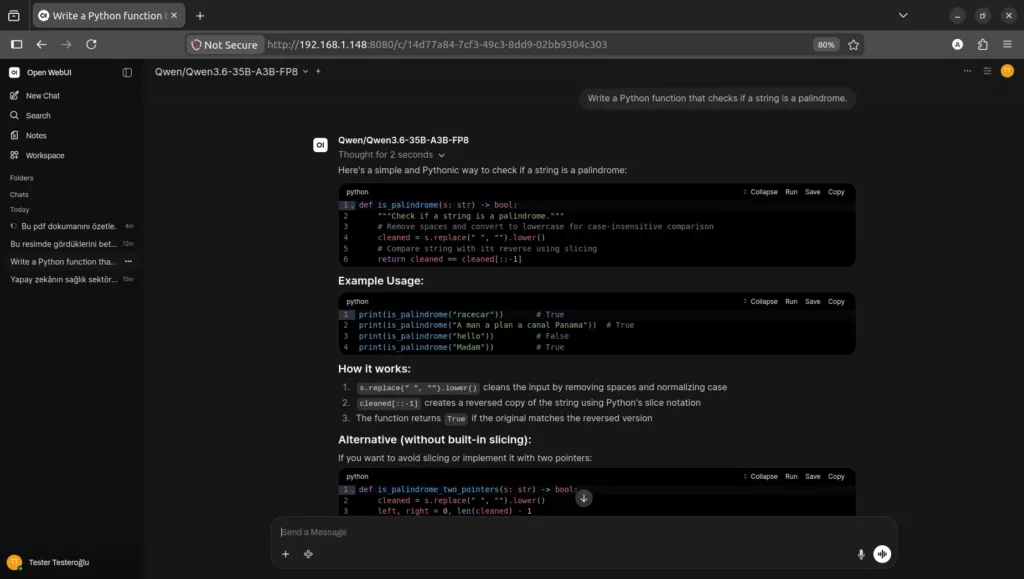
After that, to test the model’s programming skills, we asked it to create a Python function that checks whether a text is a palindrome.
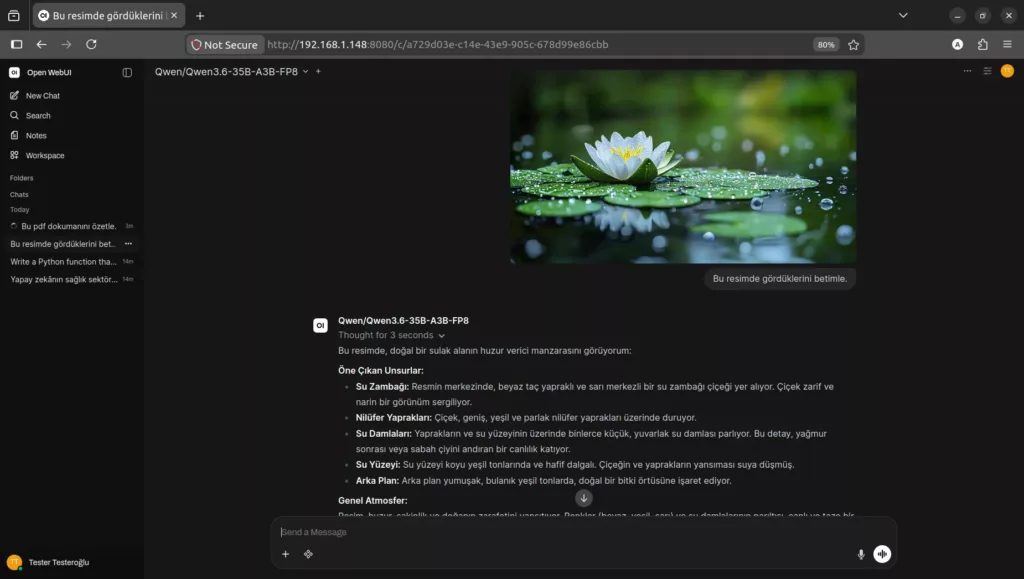
Using the file upload button in the message area, we sent the model an image of nature. The model described elements in the uploaded image such as flowers, leaves, water drops, and the background.
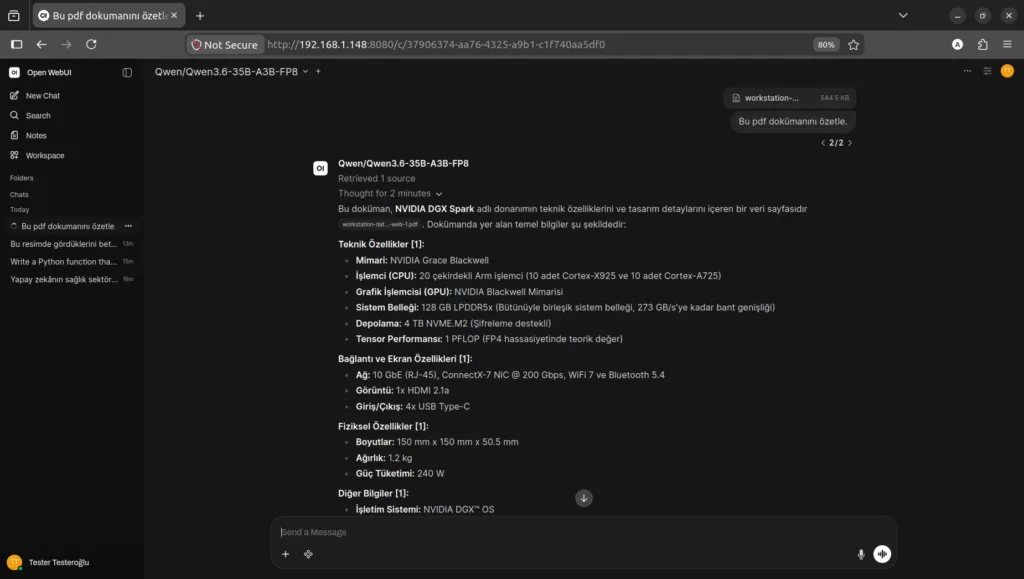
From the same file upload section, this time we gave the model the DGX Spark datasheet and asked it to analyze it.
Your local LLM setup on the Spark is ready! You can now chat with Qwen3.6 from all your devices on the same network.
10. Shutdown
When you are done, stop both containers:
Although the stopped containers cease running, their data and configuration are preserved on disk. To restart the containers from where they left off:
To completely remove the containers:
Even if you remove the containers, the Docker images and model files remain on disk. Therefore, you do not need to re-download to restart — simply run the docker run commands from steps 3 and 6 again. Chat history and account information are stored in the open-webui-data volume; even if the container is removed, this data is preserved on the Spark. If you want to delete this data as well, you can use the docker volume rm open-webui-data command.